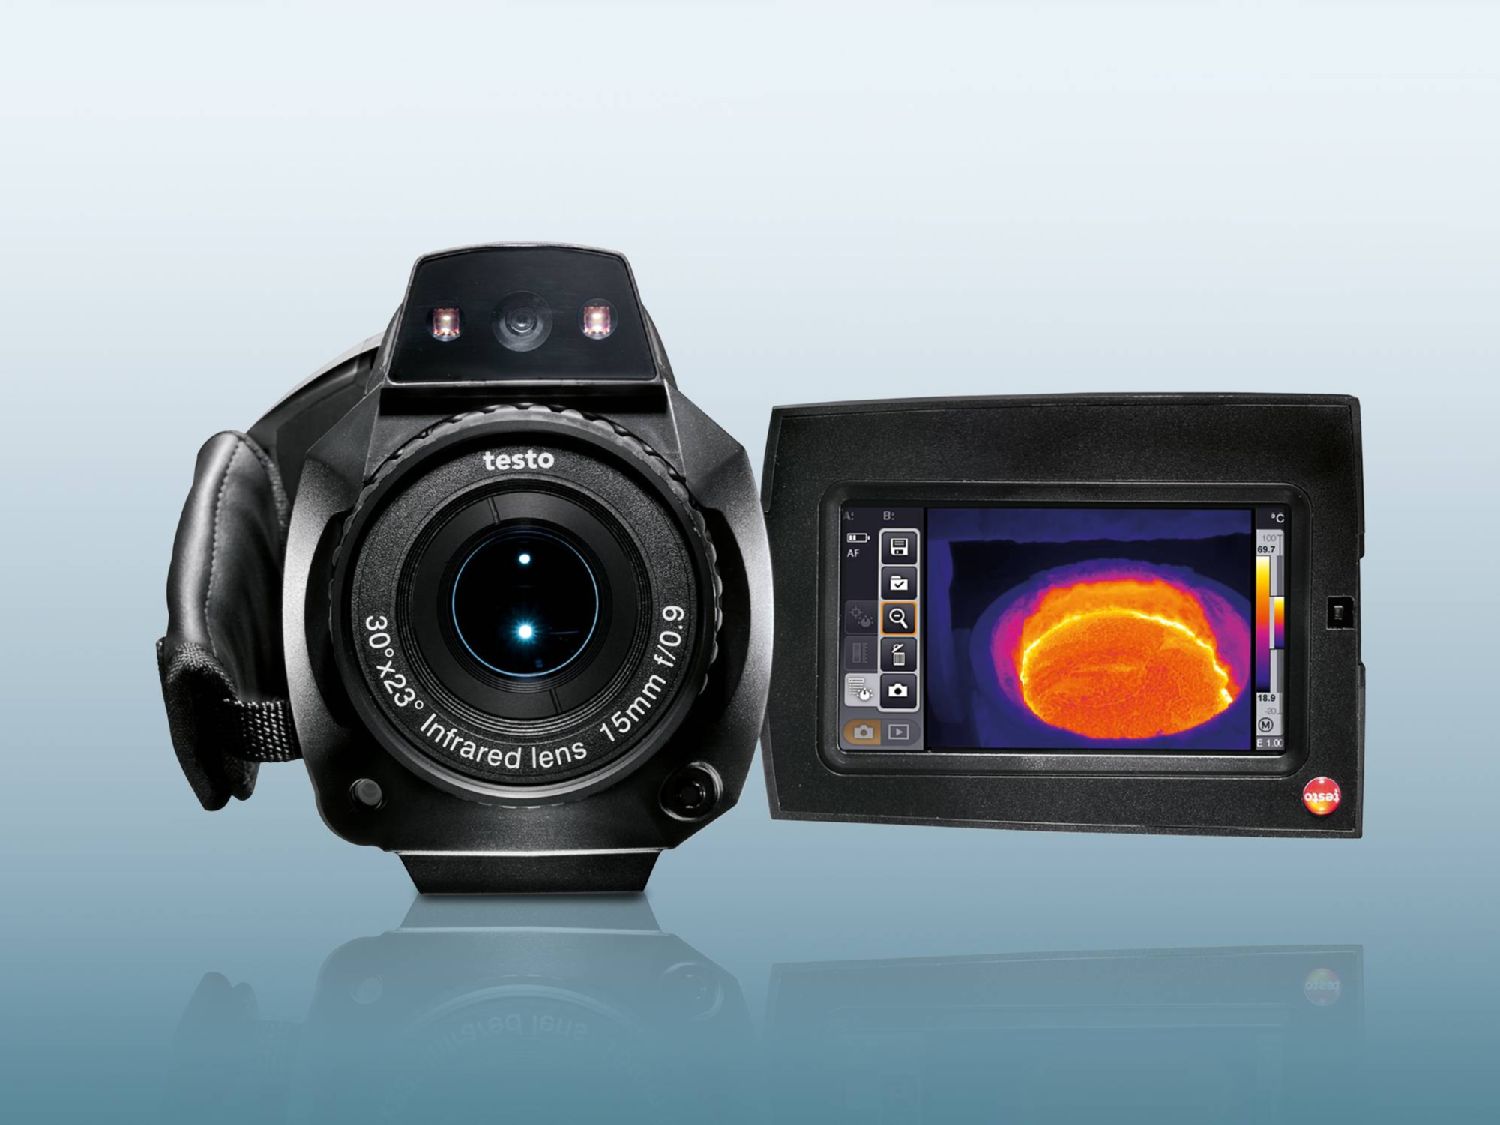
Ensure the efficiency of high-temperature plants with the thermal imager testo 885
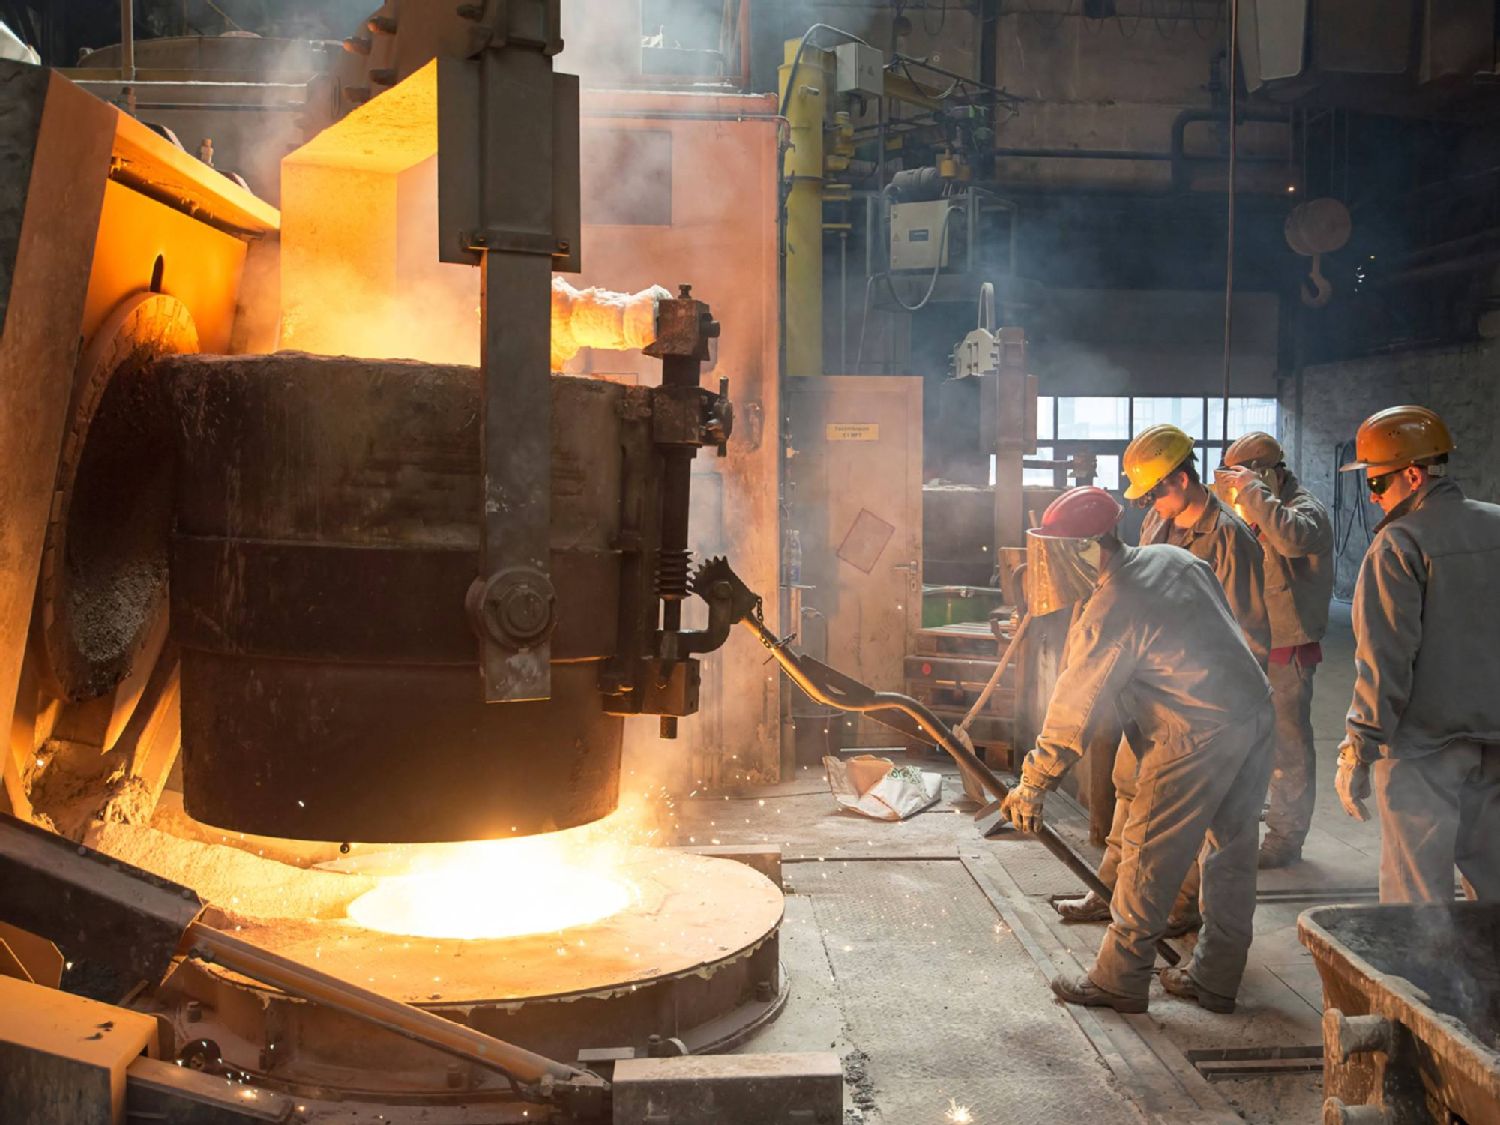
In high-temperature plants in the metal, chemical or building material industries, it is of crucial importance to identify potential faults early, in order to prevent plant breakdowns and to ensure economic production. In addition to this, a uniform temperature distribution of the manufactured products, and thus their quality, must also be guaranteed.
The thermal imager testo 885 fulfils all these requirements.
With the help of the thermographic imaging process, not only the performance of the plants can be regularly monitored, but also the properties of the products, allowing a timely reaction to even the smallest thermal anomalies.
Contact
Aveți întrebări suplimentare? Consultanții noștri vă stau la dispoziție.
The challenge
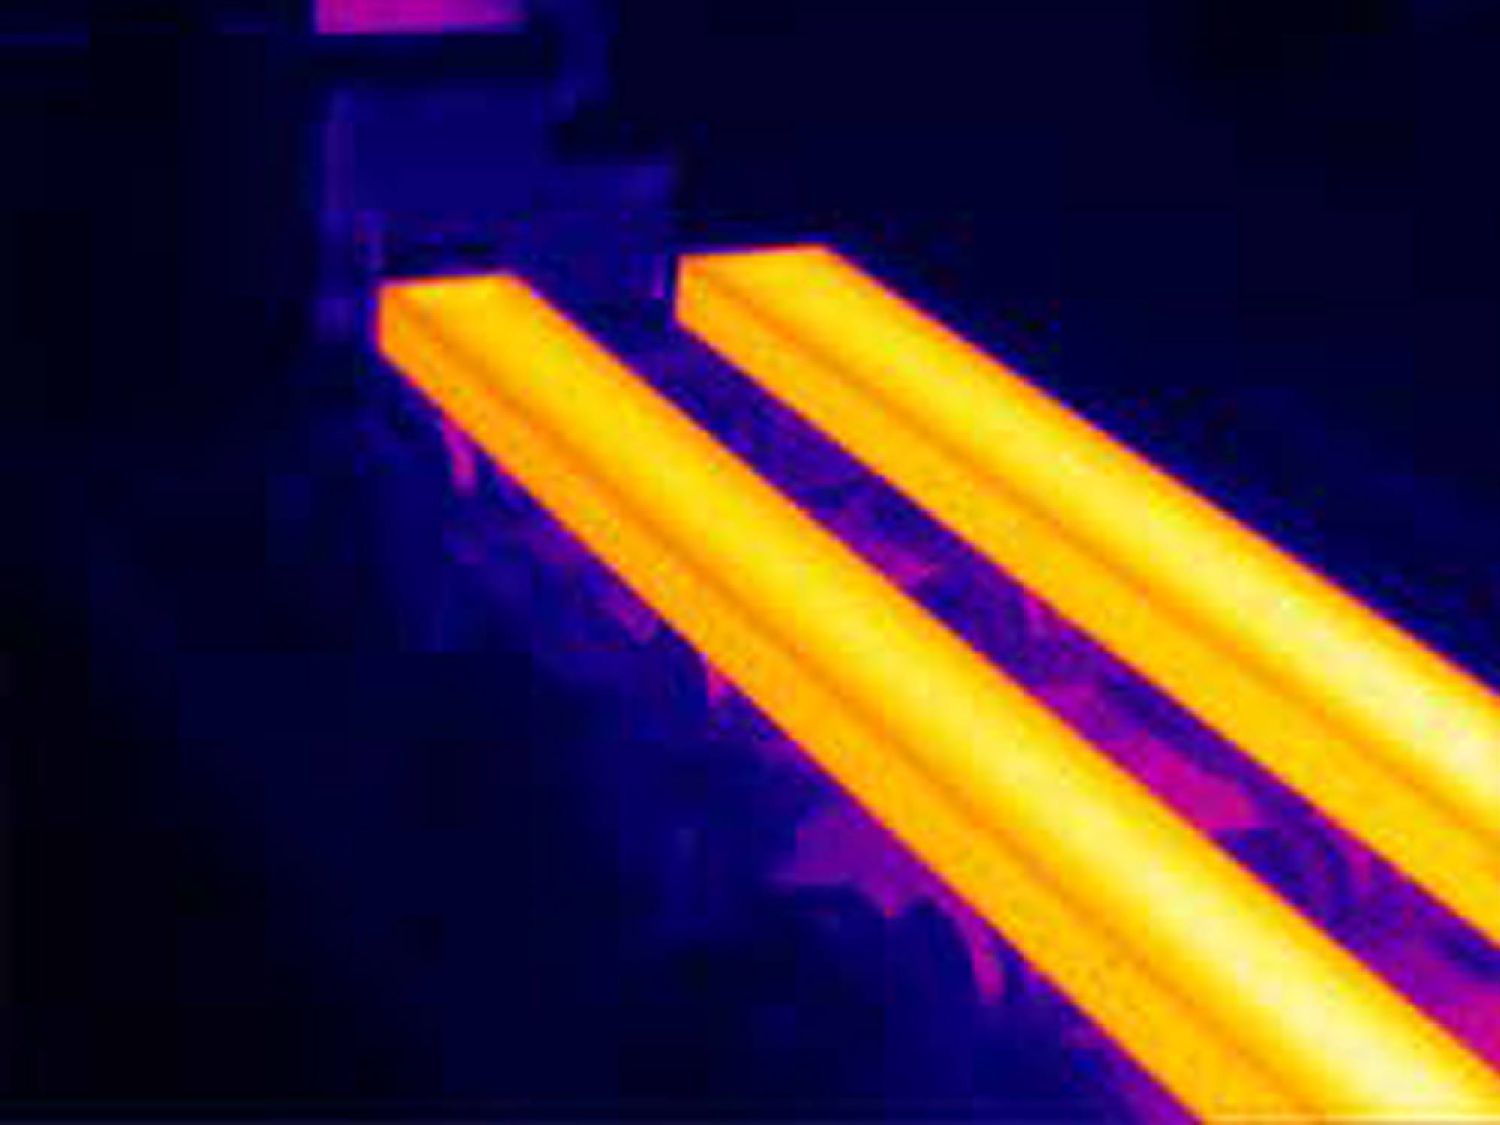
Steel slabs in a cooling store. A precise monitoring of temperature here is essential for optimum further processing.
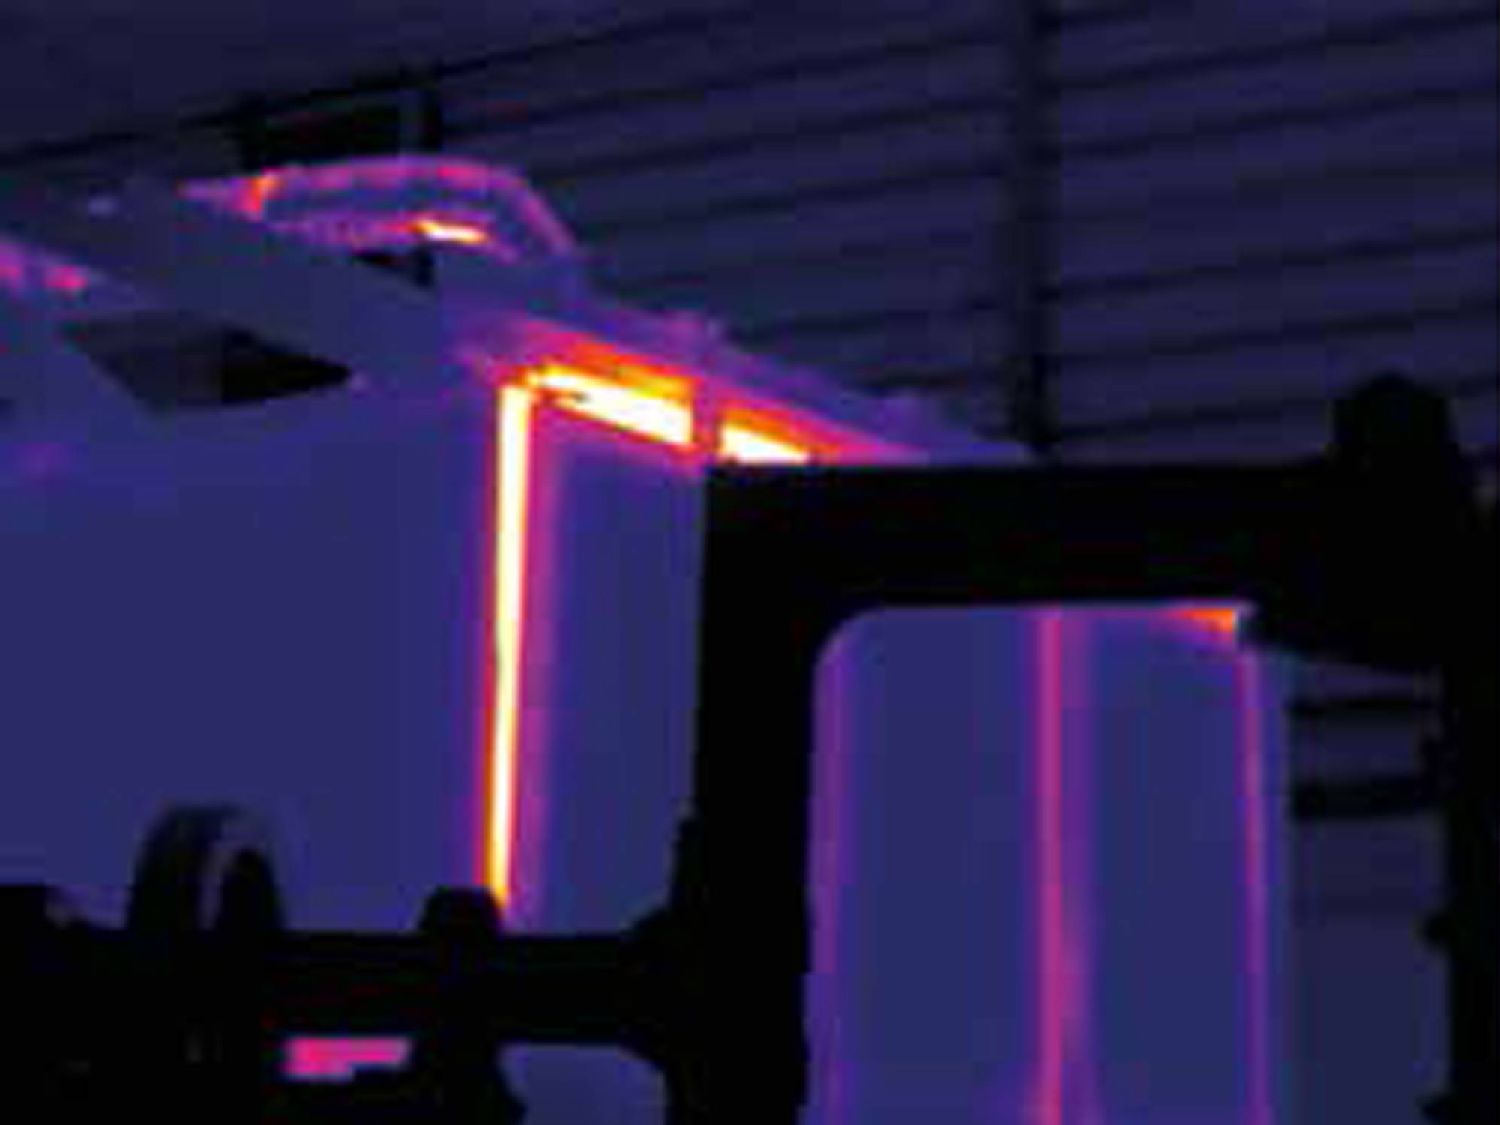
Incompletely closing door of an industrial furnace. The energy loss is clearly visible in the thermal image.
Only when the the process temperatures in energy-intensive industry are within the prescribed ranges can the respective products be manufactured in the desired quality. This requires the responsible people to regularly monitor whether all processes are running according to plan and at the right temperatures – otherwise there is a danger of slower or qualitatively inferior processing. In the steel industry for example, the products must be heated to a specific temperature which must remain constant for a period, in order to process the raw iron into steel and to achieve the optimum degree of hardness. Before they can be cut, the steel slabs must then be cooled to a maximum of 900 to 1,000 °C. In order to be optimally further processed however, they must at the same time not fall below the re-crystalization temperature (approx. 600 °C).
The status of the plants themselves is also a potential risk and cost factor. Because of the high temperatures, the machines in operation are especially prone to malfunction. An incorrectly positioned ladle in a steel works, for example, can lead to follow-on damage to an adjacent plant, or even to fires. In order to guarantee plant availability and the safety of the workers, plant components such as insulation must be regularly examined for damage due to material fatigue or wear. With regard to increasing efficiency in the high-temperature range, emphasis must be laid on not losing any unused energy. This is becoming more and more important especially in times of increasing energy costs and more stringent environmental regulations
The solution.
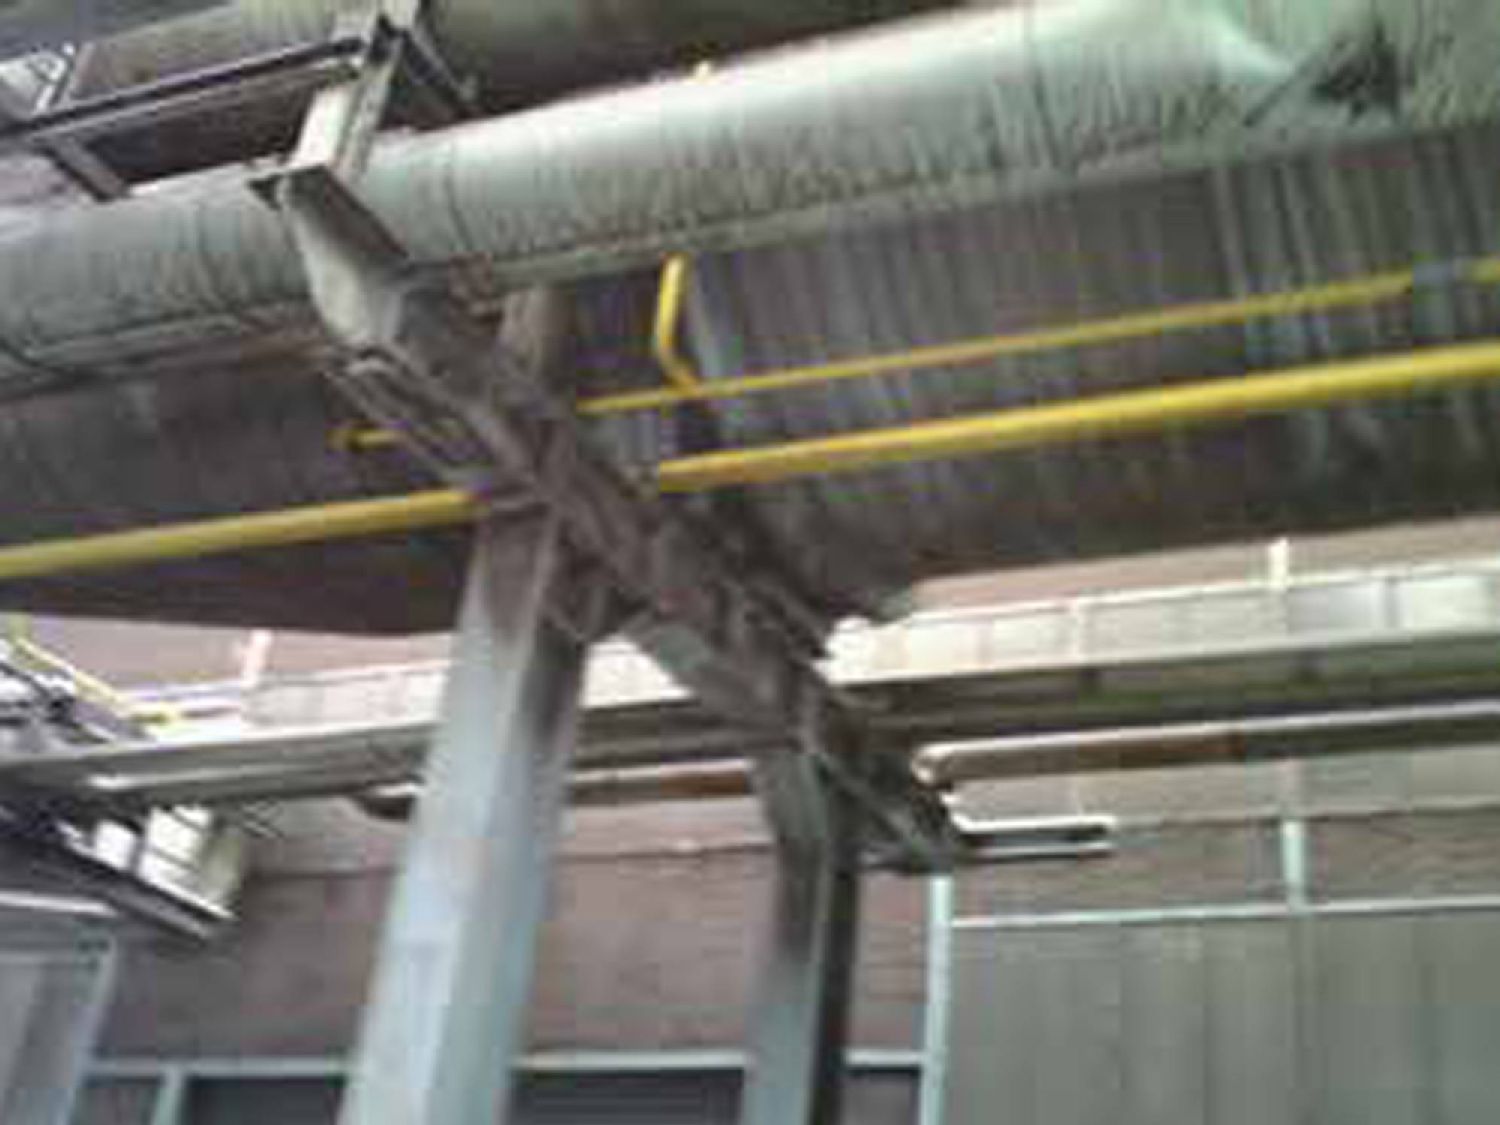
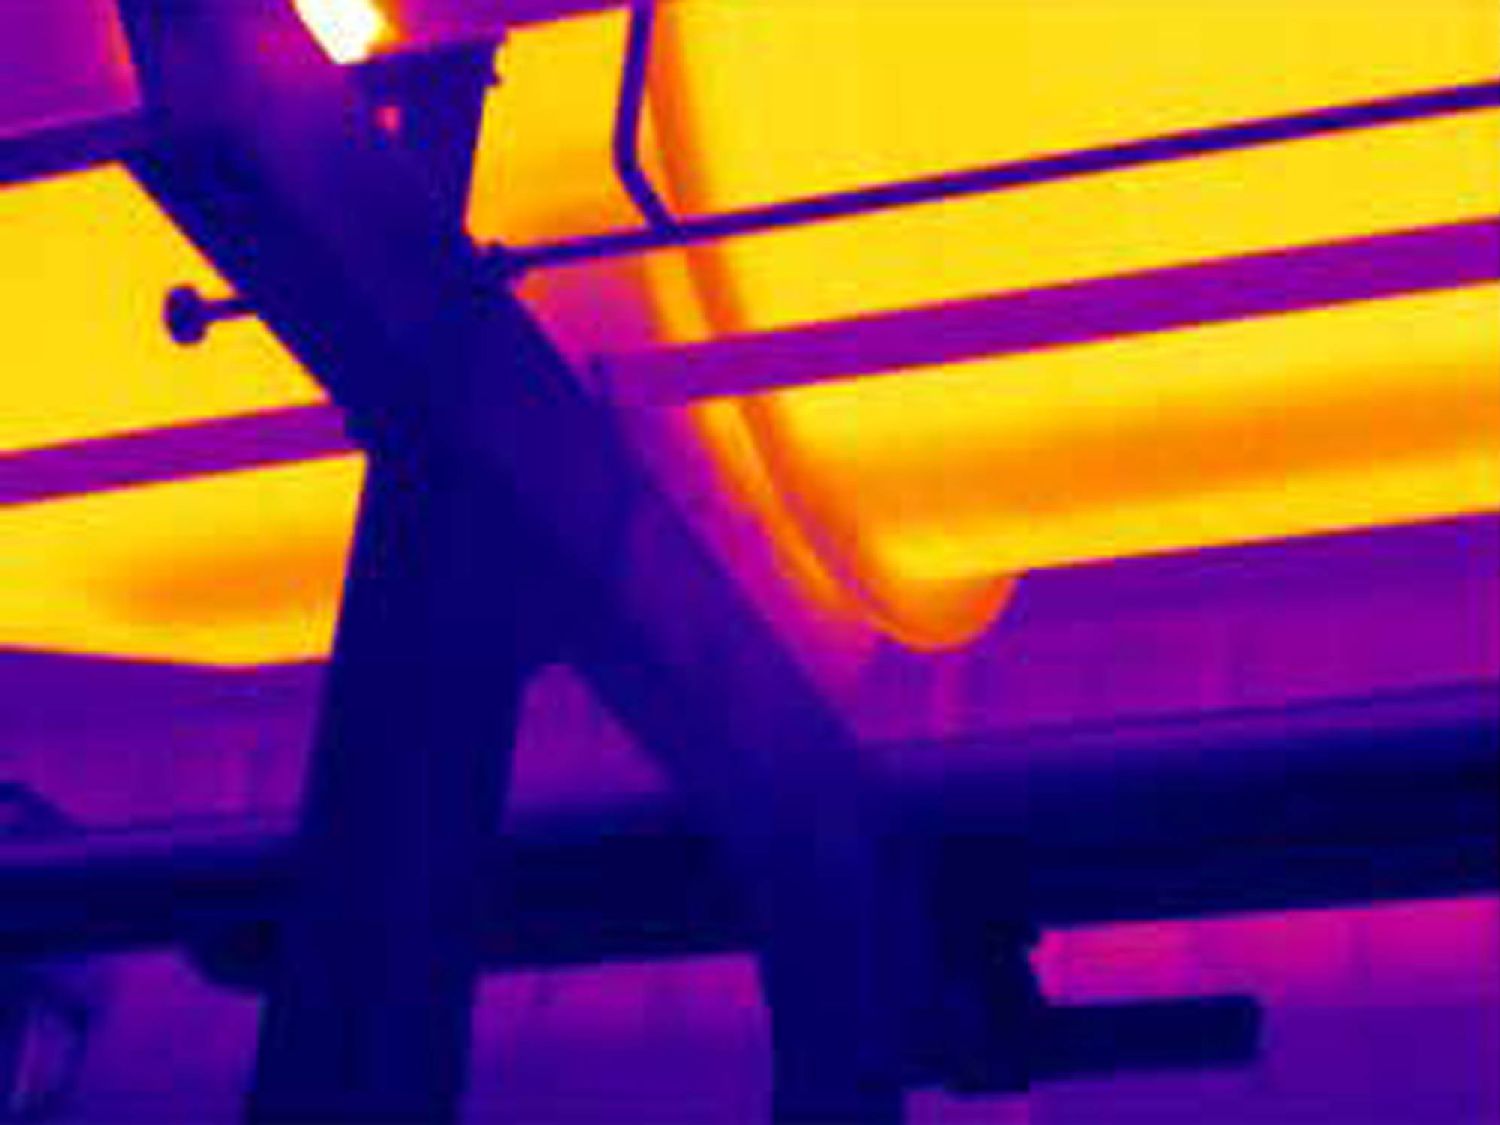
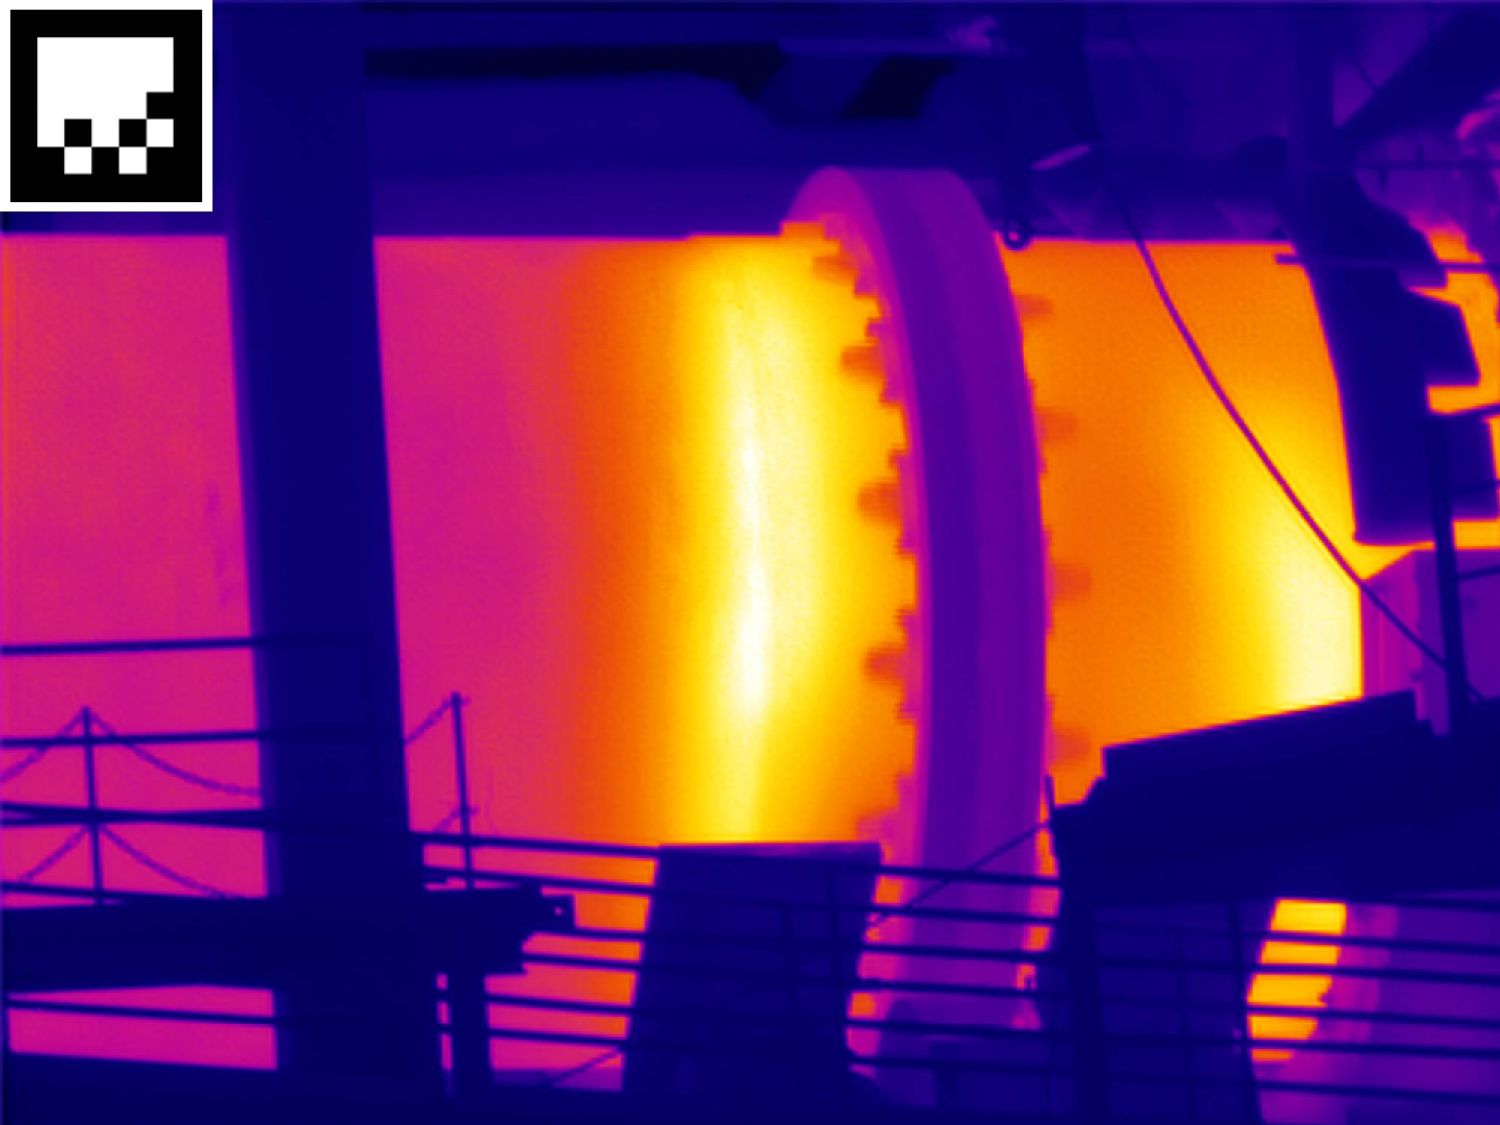
Deposits in a blast furnace gas flue They reduce the efficiency of a blast furnace, but can be quickly and easily identified using the testo 885.
High-resolution images up to 1200 °C
In order for you to be able to work with high-resolution thermal images even in the range of extremely high temperatures, the testo 885 has the blast furnace option. This allows you to extend the measuring range up to 1,200 °C.
Contrast enhancement for more precise data analysis
When monitoring extremely high process temperatures with a thermal imager, the temperature measuring range, which is displayed in the form of a scale in addition to the thermal image, can be very large. However, especially in the high-temperature range, the values which are really relevant for you are usually in a special area which, due to the large scale, has only insufficient colour differentiation. The histogram adjustment specially developed for this application shifts the colour palette of the scale into exactly the range which interests you and in which the relevant temperature differences occur. This way, a high-contrast and particularly meaningful thermal image is created, allowing an even more precise data analysis.
Thermography of even large objects
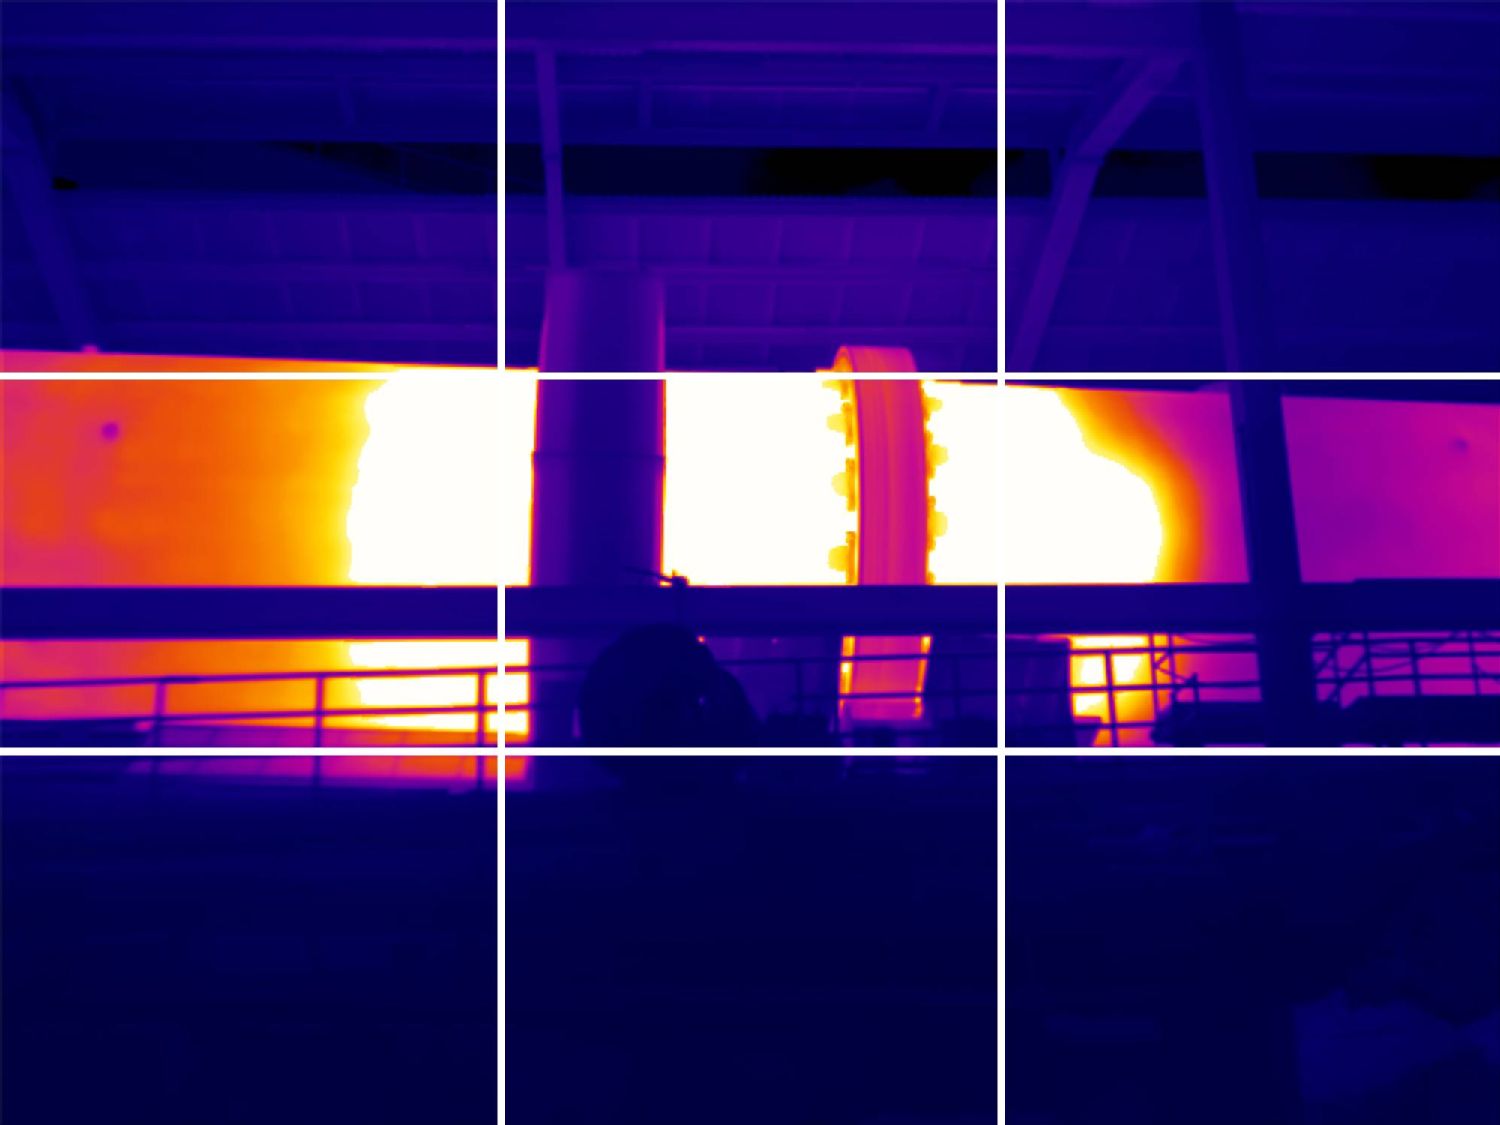
The plants to be tested in energy-intensive industry are often of considerable size. In order for you to still be able to monitor them conveniently and precisely in spite of this, the testo 885 has a broad field of view. It allows even large machines and systems to be thermographically recorded at a glance.
Thanks to the panorama image function and the exchangeable lenses, with the testo 885 you are very flexible when it comes to thermography in the high-temperature range: This allows you to obtain an overview of the plants with a wide-angle lens quickly and safely. If that is not sufficient, the panorama image assistant can help: You simply take several high-resolution thermal images of excerpts, and the panorama image assistant creates a total image for you which provides a detailed overview.
If you want to be absolutely exact for certain sections of the plant, the telephoto lens offers the possibility of precisely examining the desired measurement object from a distance.
Four times more measurement values
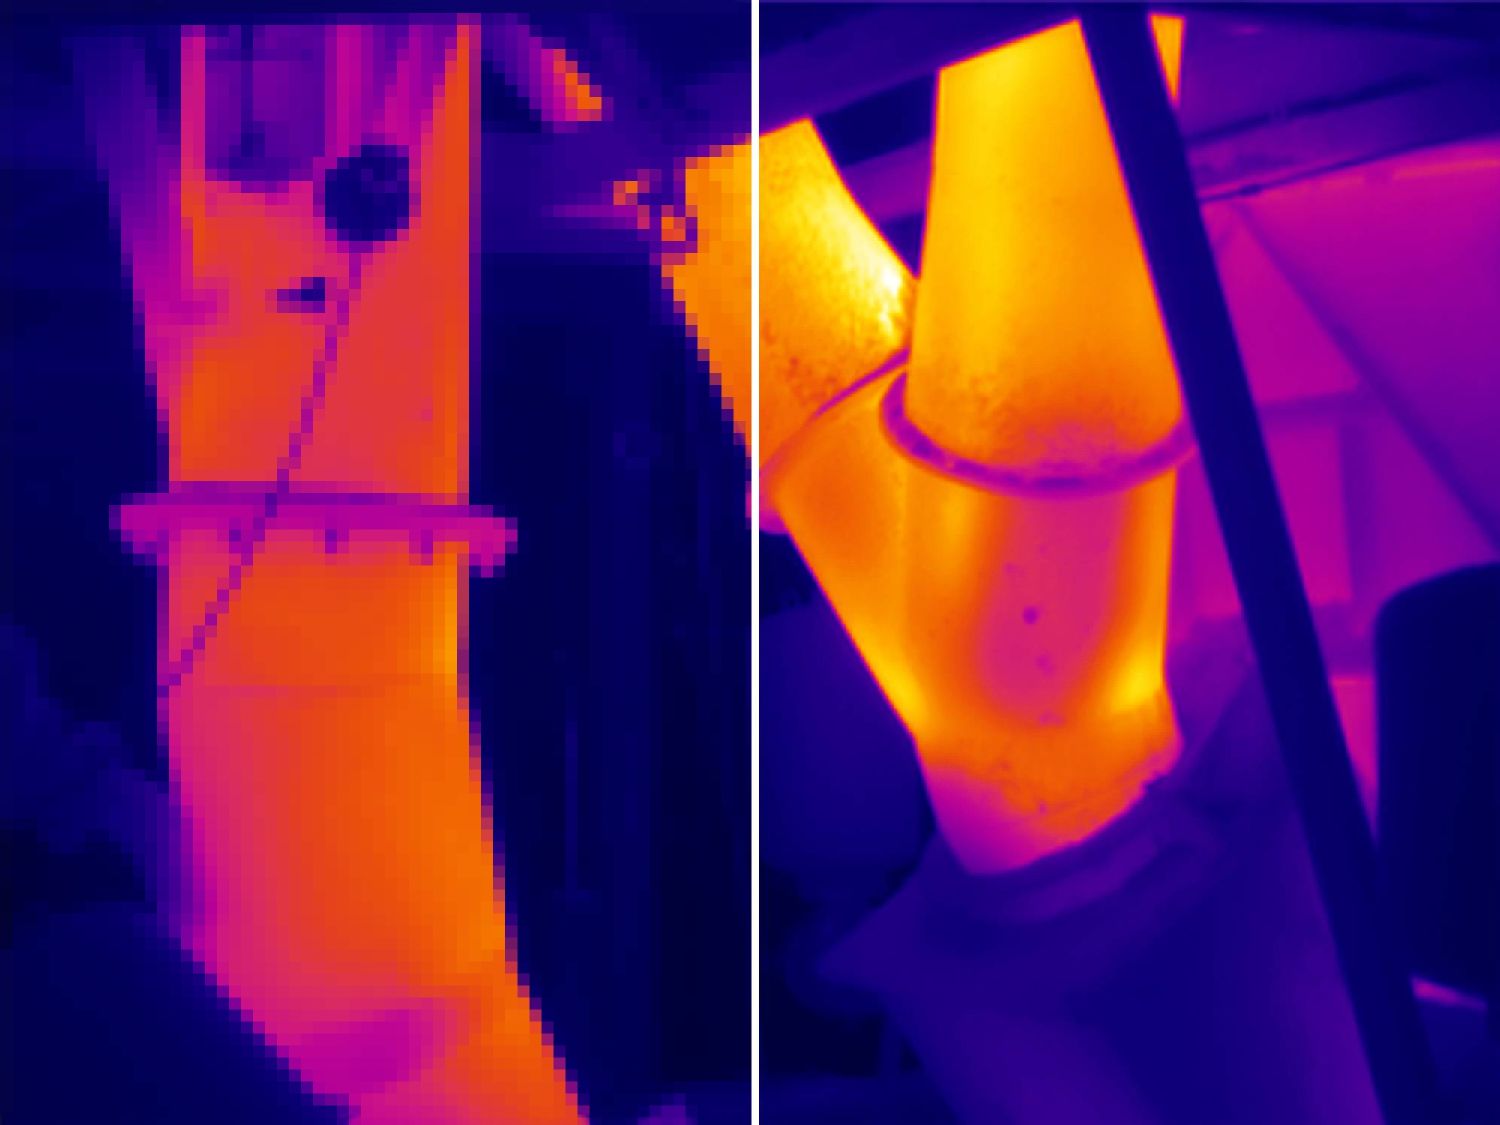
Thanks to the intelligent testo SuperResolution technology, the thermal imager testo 885 offers you optimum image quality. The patent-pending innovation from Testo uses the natural movement of your hand, and records several images, slightly offset to each other, one after the other in the shortest possible time. Using an algorithm, these are then calculated to obtain an image. This produces a thermal image with four times as many measurement values. In the subsequent analysis using the professional analysis software IRSoft developed by Testo, even higher resolution thermal images are then available to you.
Measurement site recognition and automatic thermal image management
For regular measurements directly on high-temperature plants, Testo offers you more efficiency and security in the allocation of the images, with the innovative function testo SiteRecognition. It recognizes the measurement sites, and stores and administers the thermal images and measurement date fully automatically after each measurement tour.
For every measurement site stored in the testo IRSoft software, you can create markers (small symbols similar to QR codes), and attach them on site. In the next inspection, you simply record this marker with the testo SiteRecognition assistant of the imager, which then automatically stores the measurement site and the corresponding information together with the thermal imager. When you transfer these thermal images to the analysis software after the measurement, they are then fully automatically sorted into the archive – eliminating tiresome sorting and re-naming. You can then conveniently open the images from the archive, and analyze or process them in reports.
With the thermal imager testo 885, you can:
- Identify faults in your plants early
- Increase energy efficiency in production
- Ensure process temperatures up to 1,200 °C in order to guarantee product quality
